How to Add Store
Get help for Seller app here
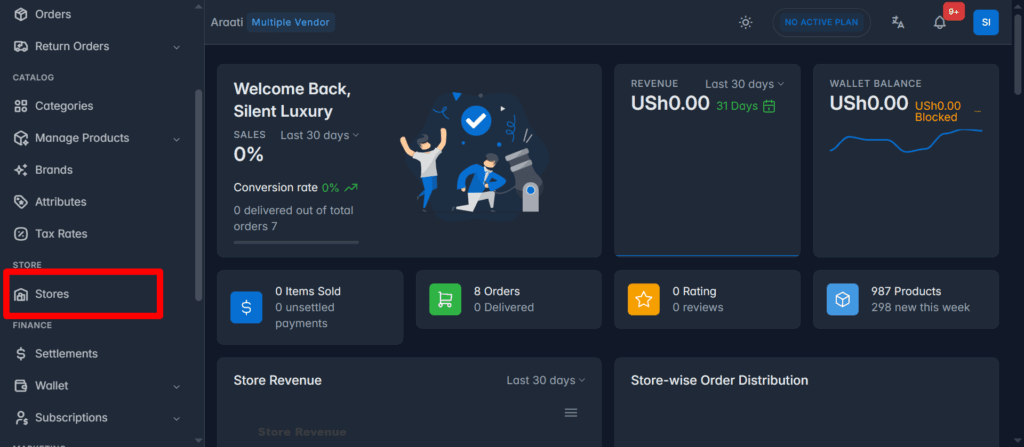
Navigate to your seller dashboard panel>Click on Store in the left menu>Add new store
1. **Basic Details
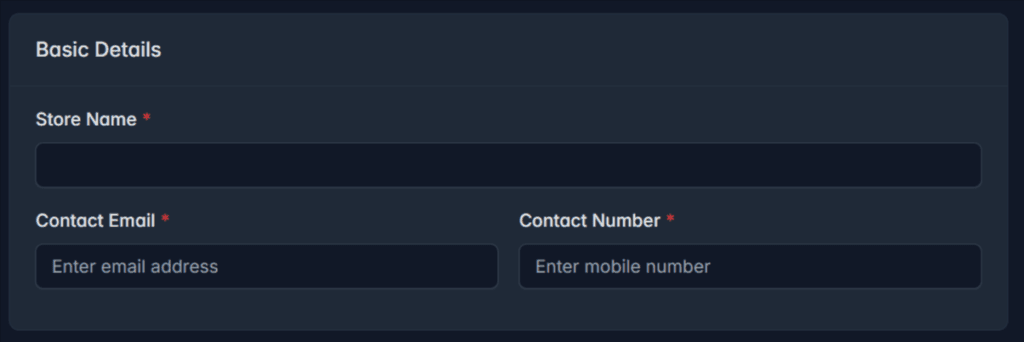
Enter store name, Email and Contact Number (All Required)
2. **Location Details
Search for or select your store location on the map. Once a location is selected, the system will automatically populate the required fields, including Country, Address, Landmark, City, State/Region, ZIP/Postal Code, Latitude, and Longitude.
If any of these fields are not filled automatically, please enter the information manually, as all fields are required to complete your store setup.
3. **Logo & Banner
Upload store logo – square shape is recomended (Required)
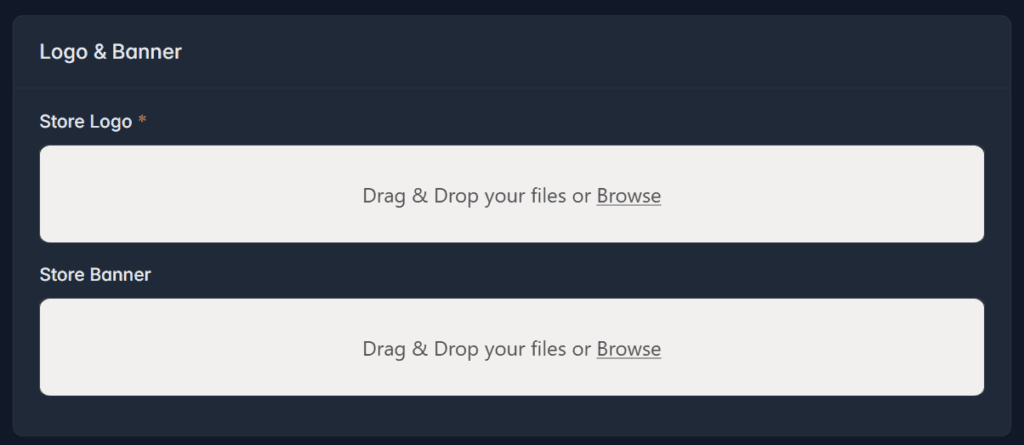
Upload Store Banner – An holizontal shape is recommended.
4. **Business Documents
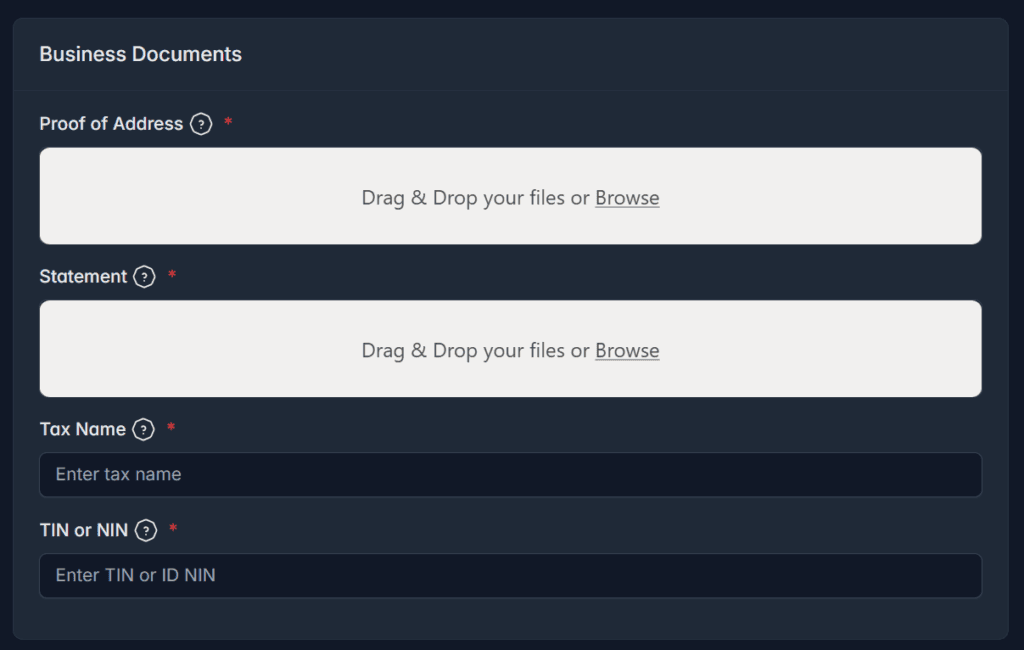
Proof of Adress for your store, this can be your rent receipt, photo of your business store showing location etc
Statement. This information will be used to verify your payment account. Please upload a valid Bank or Mobile Money transaction statement or screenshot clearly showing the registered mobile number, account holder’s name. This information will be used solely for payment verification purposes.
Enter Tax information, Tax name eg trade license, VAT and Tax Number (TIN) on your trade license. You can also use your ID NIN
5.Bank or Mobile Money Account
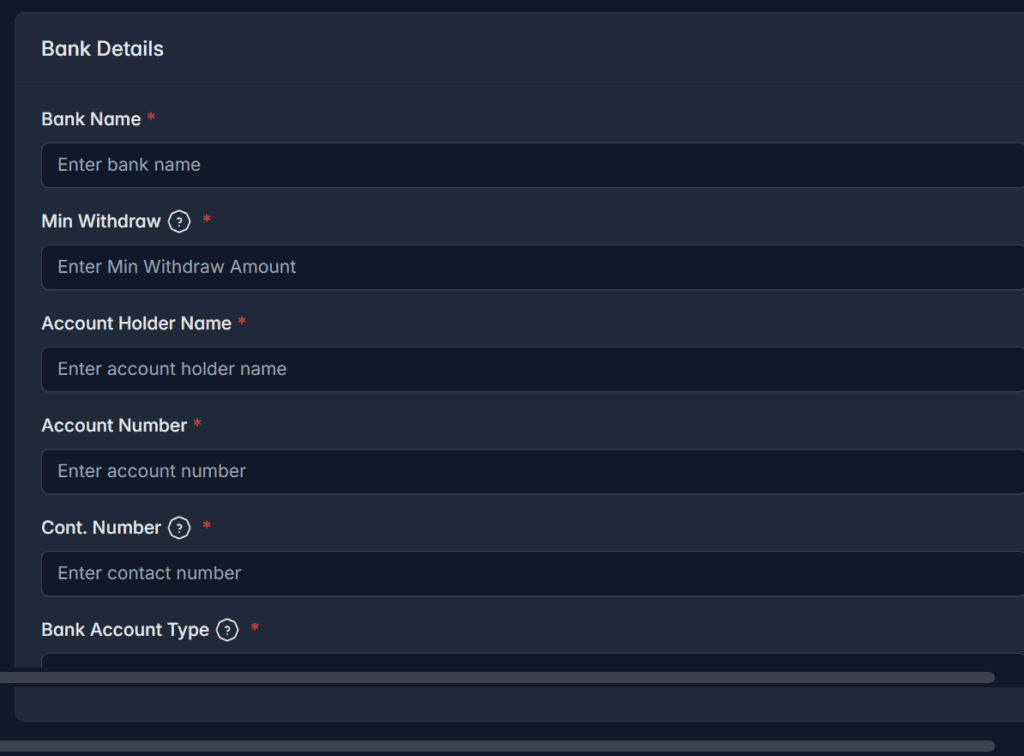
Enter Bank Details or mobile money information to receive your payments via mobile money
6. **SEO Information
This section help increase your store presence on google search, see below image.

- This is the SEO Title
- SEO Description
- SEO Keywords
Now that you have set up your store, Let me explain some of the words in your dashboard.